Technically, this is more like ten tries, but the goal and intent of my 5 Tries post is still alive and well here: using up and exploring neglected items in my makeup drawer for review! With that in mind, I bring you Clinique’s Full Potential Lip Glosses.

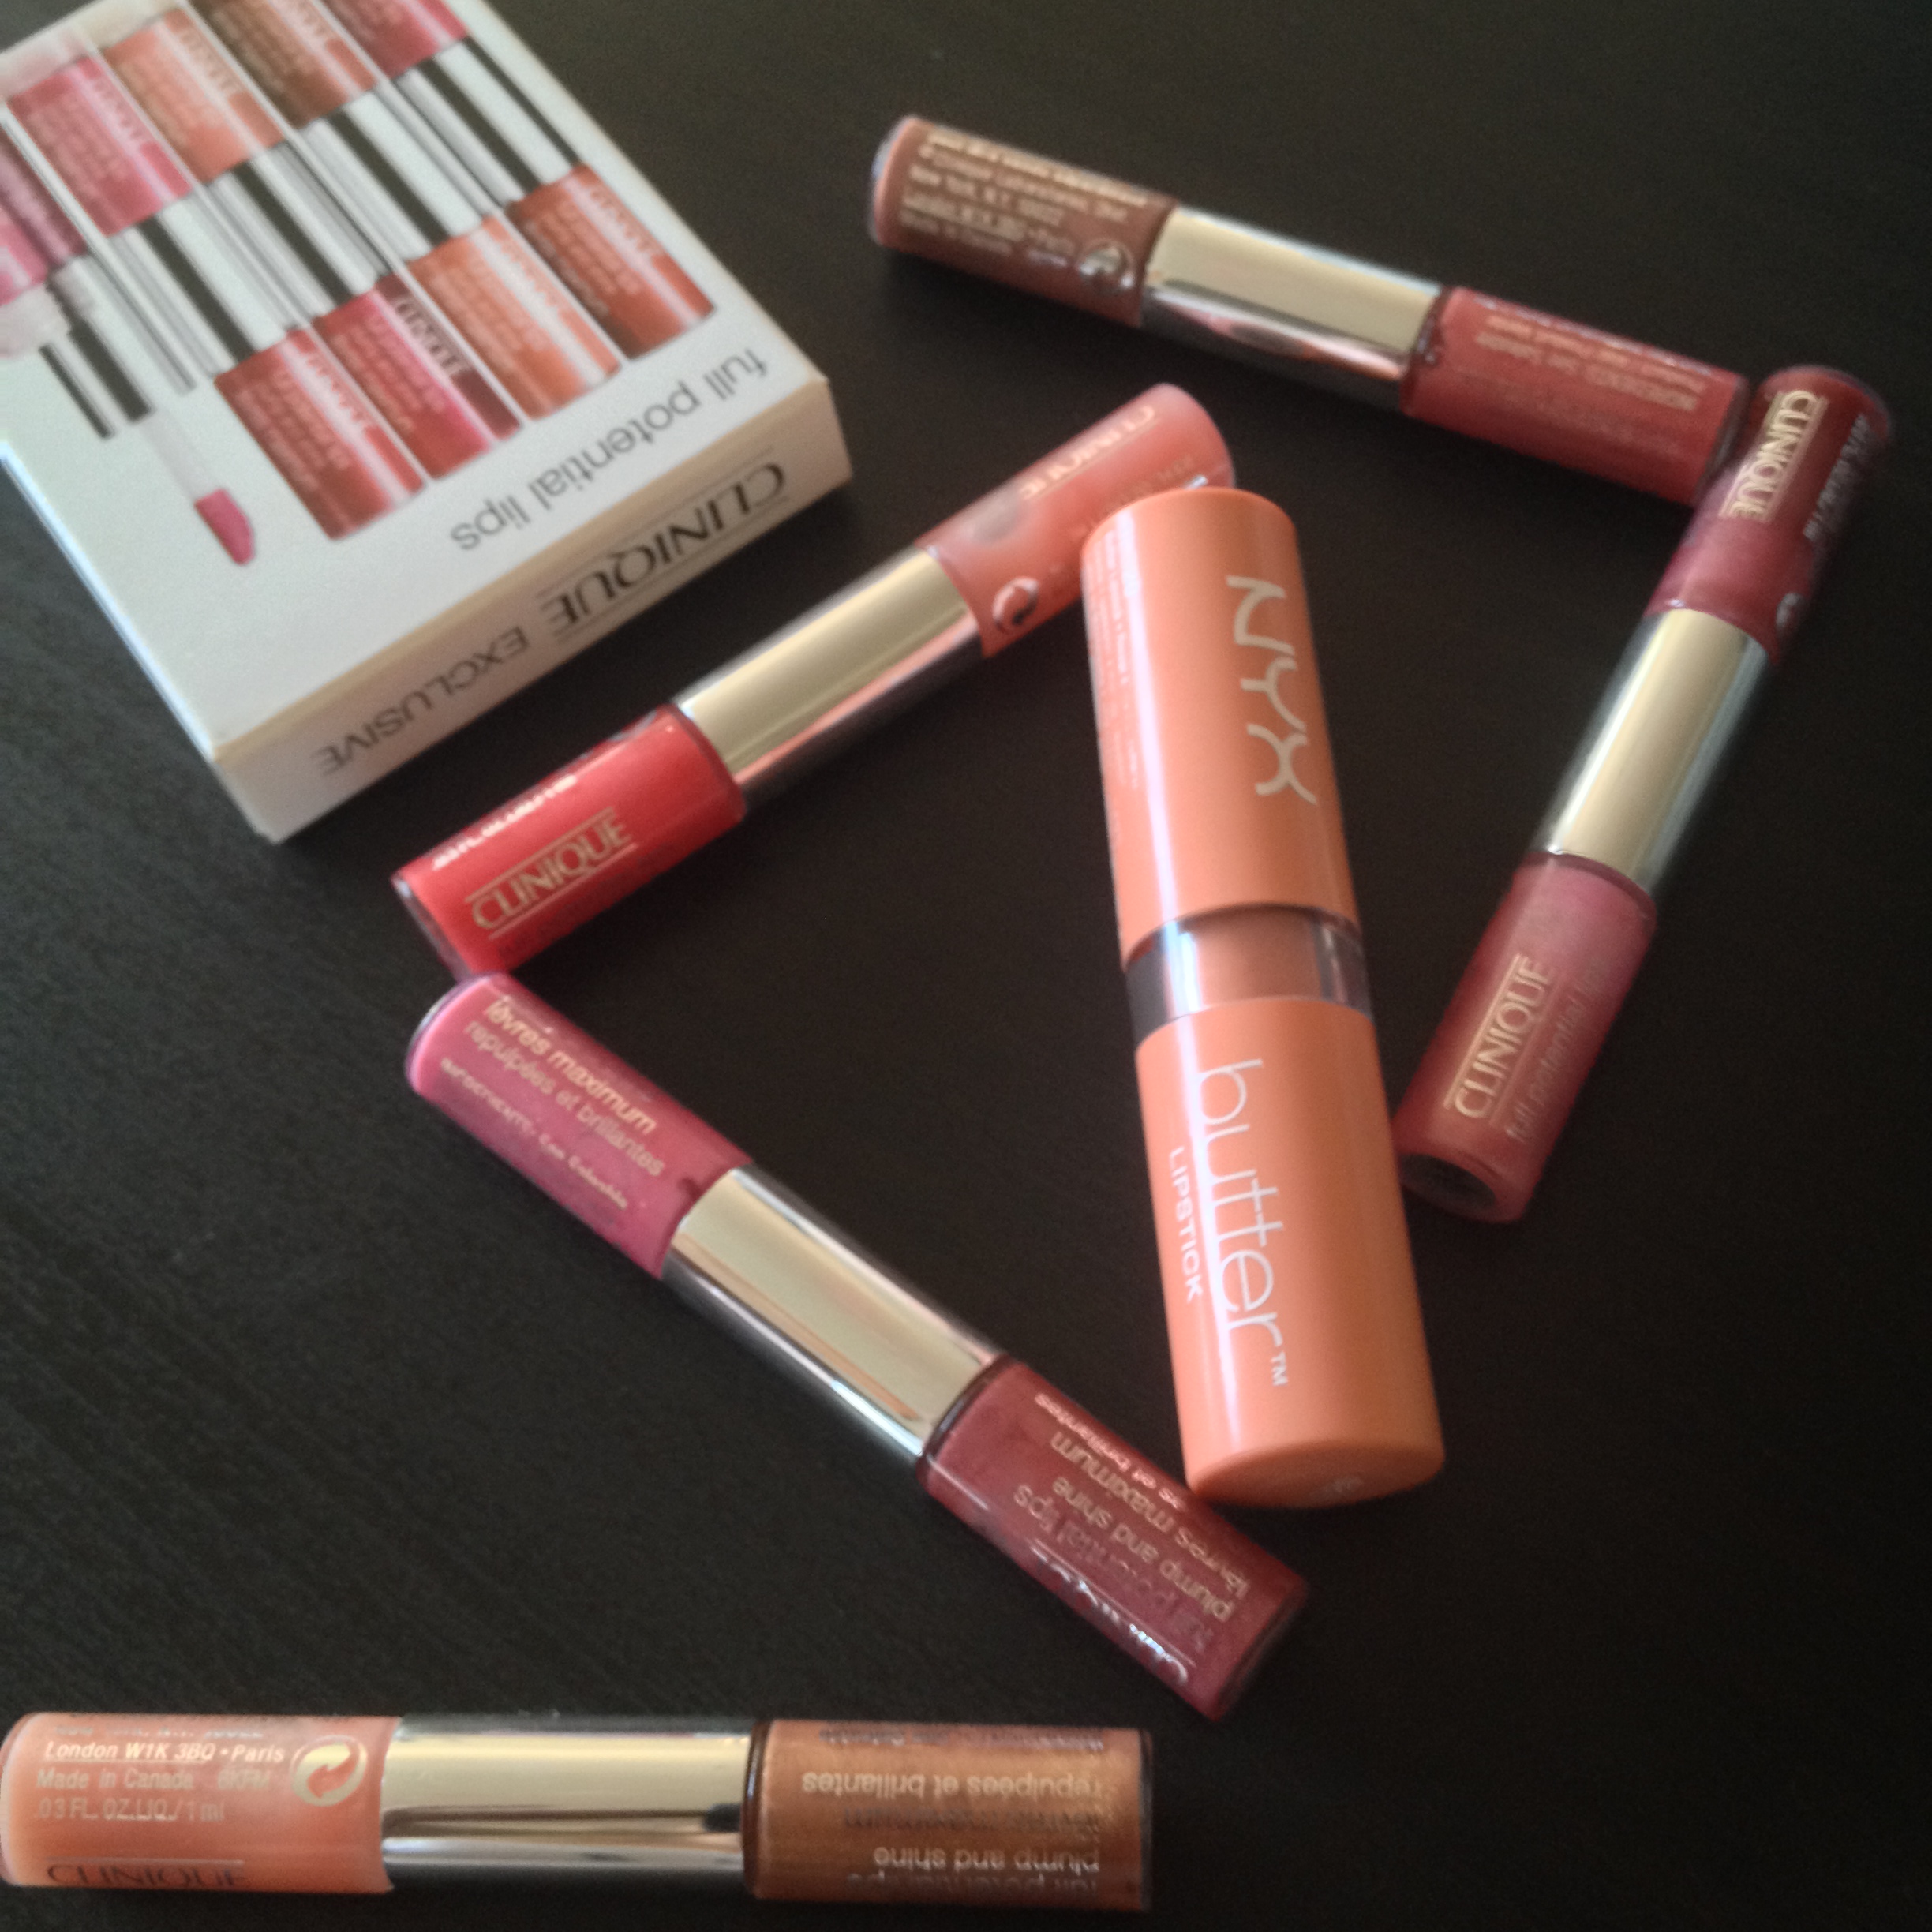
The Full Potential Lips Glosses in their mini glory!
I bought a pack of dual ended glosses at the duty-free in South Korea last October. So while these were still being sold around this time last year, they are no longer an active part of Clinique’s regular range. However if you like any of the shades here they can still easily be found on Amazon or eBay.
Each of these mini tubes has .07 oz of lip gloss, which makes them great for your purse or for travel. The tiny glosses have a doe foot applicators and you’ll likely have to dip back into the tube to get the best color effect possible. The glosses also have a very faint mint scent, but there is no tingly quality that you usually associate with lip plumpers.
The gloss formula is sticky but not tacky, which is an important distinction for gloss lovers. Personally, the slight stickiness doesn’t bother me. It feels light on the lips.
Average wear time was probably 45 minutes to an hour. Some of these glosses lasted about an hour with the shine diminishing along the way and others felt like they did not stay put on my lips for more than twenty minutes. But I’ll specify which of these is which down below. If you’re eating or drinking do not expect these glosses to stick around, so if you’re wearing them out take the tube with you.

Adding in a Bit of Honey
For the lip swatches, I decided to use NYX’s butter lipstick in Bit of Honey as a base, and I’m so glad I did this. Bit of Honey is a pale nude shade that neautralized my lips’ natural mauvey tone, which ended up being great for the swatches because the Clinique Full Potential Lip Glosses are almost all sheer with hints of color. If I hadn’t used a light nude shade as a base, I don’t think you would have been able to see some of the colors. Even with Bit of Honey some of these shades do not come through strongly. But you’ll see that in the swatches.

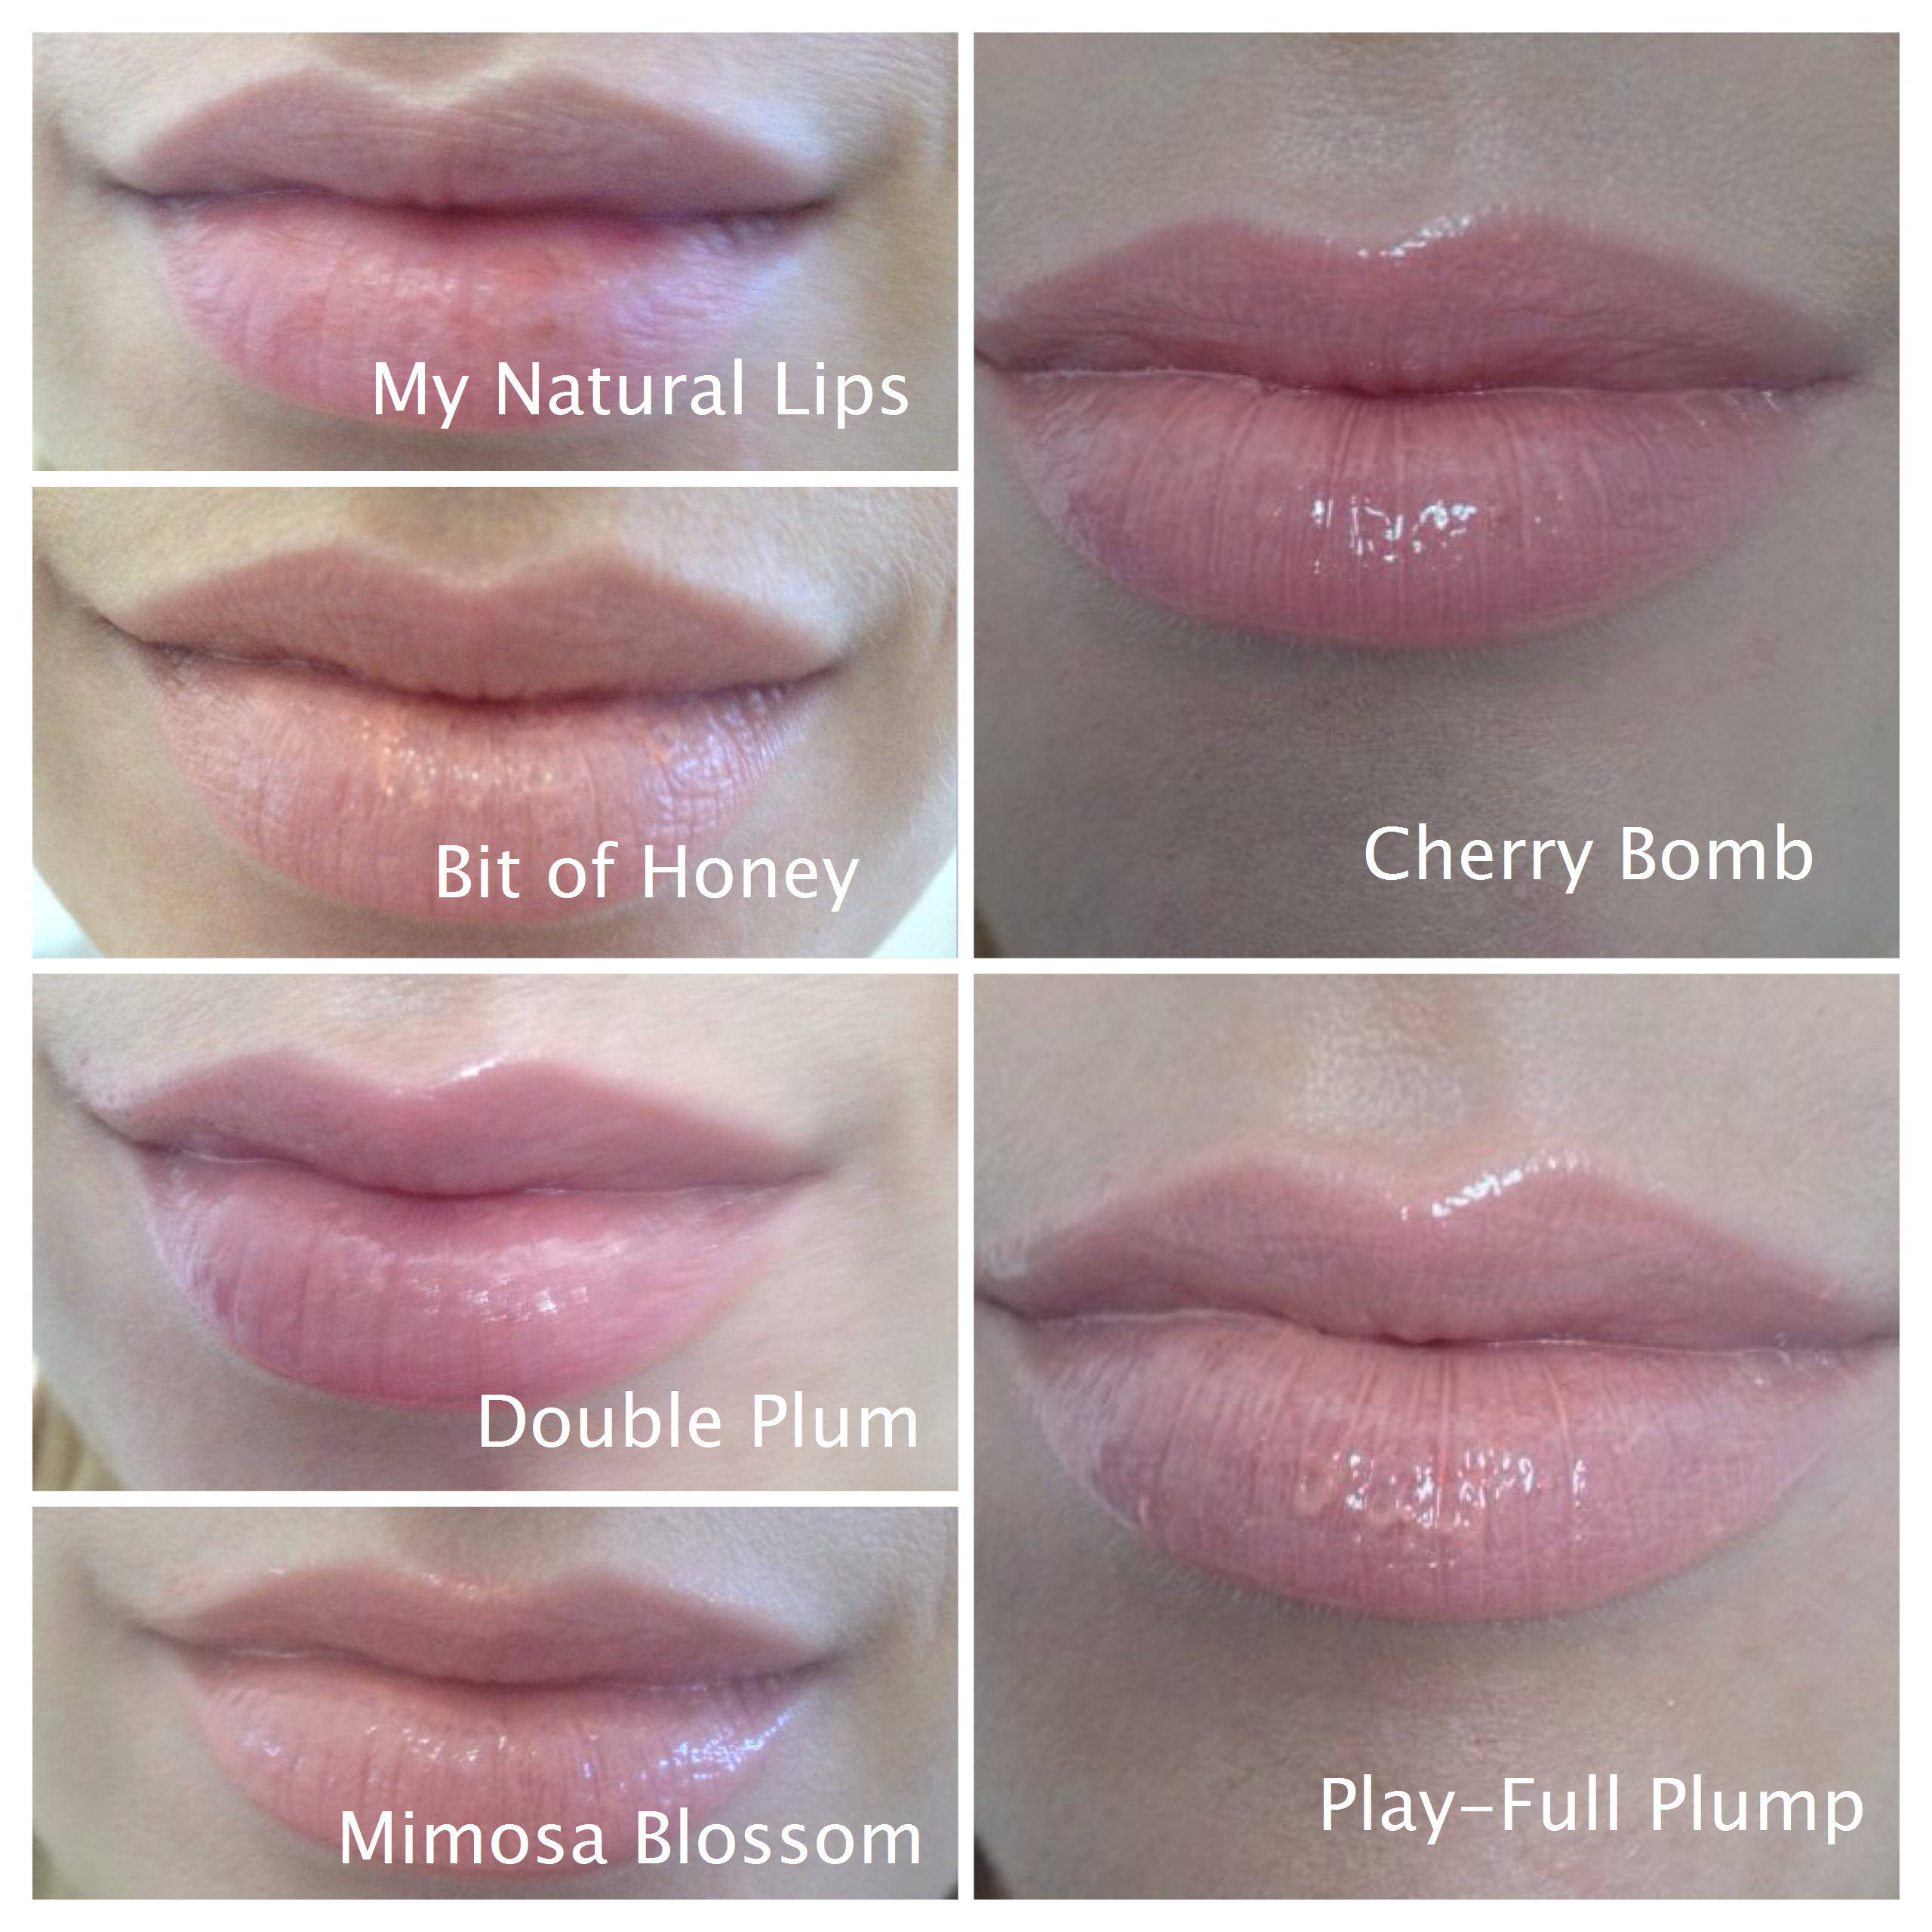
As you can see, my natural lips shape did not get overly enhanced by these glosses, at least in the plumping department. The ones that did do a bit of extra plumping are pretty obvious in comparison. You can also see what NYX’s Bit of Honey looks like on my lips; just a light subtle nude. I think having Bit of Honey on under these lip glosses also helped keep my lips moisturized, since the Butter Lipstick line is quite nourishing. Anywho, on to the Clinique!
For swatch descriptions, I’m going to talk about what the color looks like in the tube (which I’ll put in italics) and then describe the gloss on the lips.
Double Plum—A rich plum toned red. When I first applied this shade it appeared darker and then by the time ten minutes had elapsed and I was ready to take a photo the shade had faded out significantly. I also found this shade to be the most drying.
Mimosa Blossom—A warm rose shade.This color came out more mauve on my lips than in the photo, which is a good thing. All of these shades are extremely sheer: sometimes I like that and sometimes I don’t. So the little hint of mauve was welcome.
Cherry Bomb-–A bright fuschia. One of the brightest colors in the tube but on the lips this gloss is barely distinguishable from the pale pinks and nudes in the collection.
Play-Full Plump—A soft blue-toned pink. There was next to no color payoff with this shade.

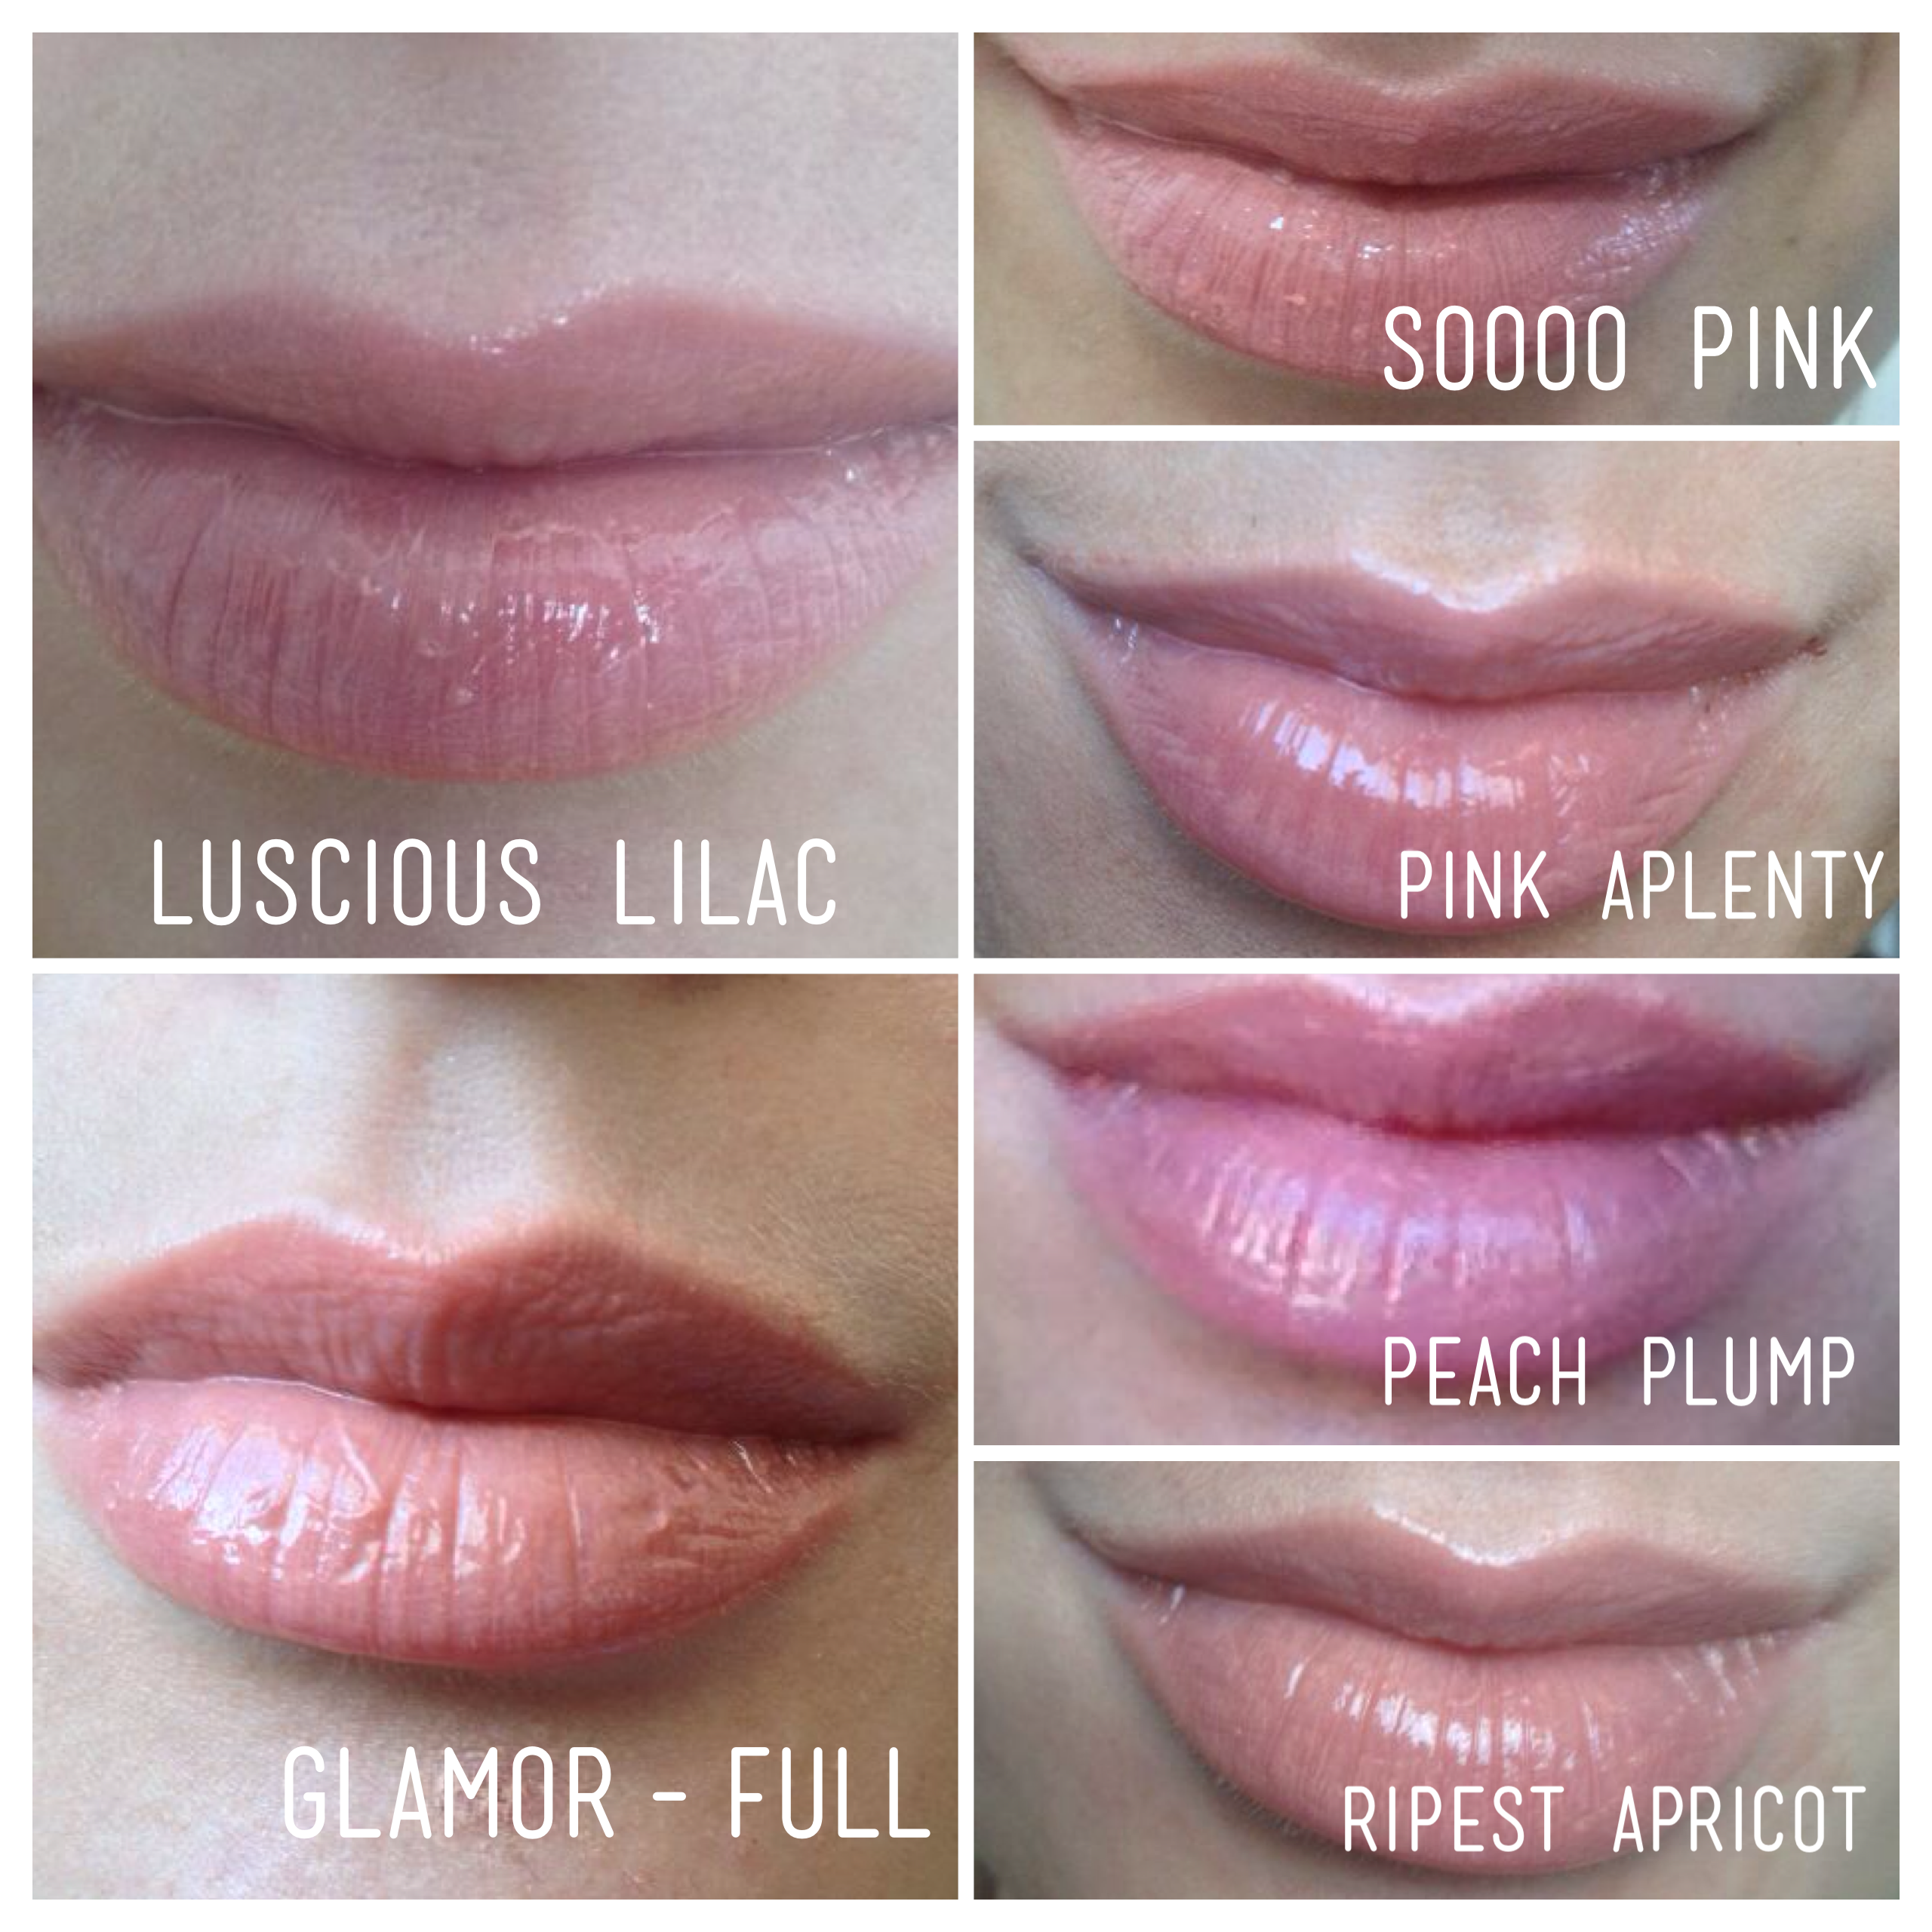
Luscious Lilac—Barbie pink with a touch of purple. I think I wanted this shade to have just a touch more purple-y pink. This is one of the shades that did not have much color payoff.
Glamour-Full—A warm mocha tone in the tube. One of my favorite shades from the pack. It’s a warm nude-brown and has one of the best color payoffs though it is still quite sheer when you consider the color in the tube. I also think this shade did one of the better jobs at plumping.
Sooooo Pink—Rose-y toned pink. Yes, there are that many “o”s. I checked. This gloss is the truest match from tube to lip. A lovely subtle pink gloss.
Pink Aplenty—A deep mauve. This shade required a lot of reapplication. You can tell from the swatches that my lips were not as shiny and I took each of these pictures maybe 15 minutes after finishing my makeup to allow the plumping part to do its magic.
Peach Plump—Pale peach. On my lips this shade came off more nude with a hint of rose, so I’m not sure why it looks deep pink in all my photos. And of these six swatches, my lips look the fullest. I also felt that this shade left my lips feeling soft, which is not a claim the brand makes in any way, but it was different enough that I made a note about it!
Ripest Apricot— Warm tan toned gloss. Another shade that needed a lot of reapplication. But I didn’t mind as much with this shade because I enjoyed the warm tone of the gloss when combined with Bit of Honey.
I had to layer these glosses on thick for there to be any sense of color. Which if you’re not looking for strong pigmentation, then these could be for you. But I found the colors to be a disappointment. The shine on these glosses is good though, and I’d ideally recommend the Full Potential glosses to be used over a lipstick you’re looking to enhance the shine of.
After trying all ten of the Full Potential Lip Glosses my favorite shades were Glamor-Full, Peach Plump, and Ripest Apricot. As a whole, however these glosses are nothing special. I can understand how they didn’t become a long-standing part of Clinique’s line.
I’d give the Clinique Full Potential Lip Glosses 2 beauty bubbles.
Thanks for popping in!