Nail art has always fascinated and intimidated me. Over the past few months I’ve dipped my toes (and fingers) into the proverbial nail art water, but I had not tried anything too complicated. Until now.
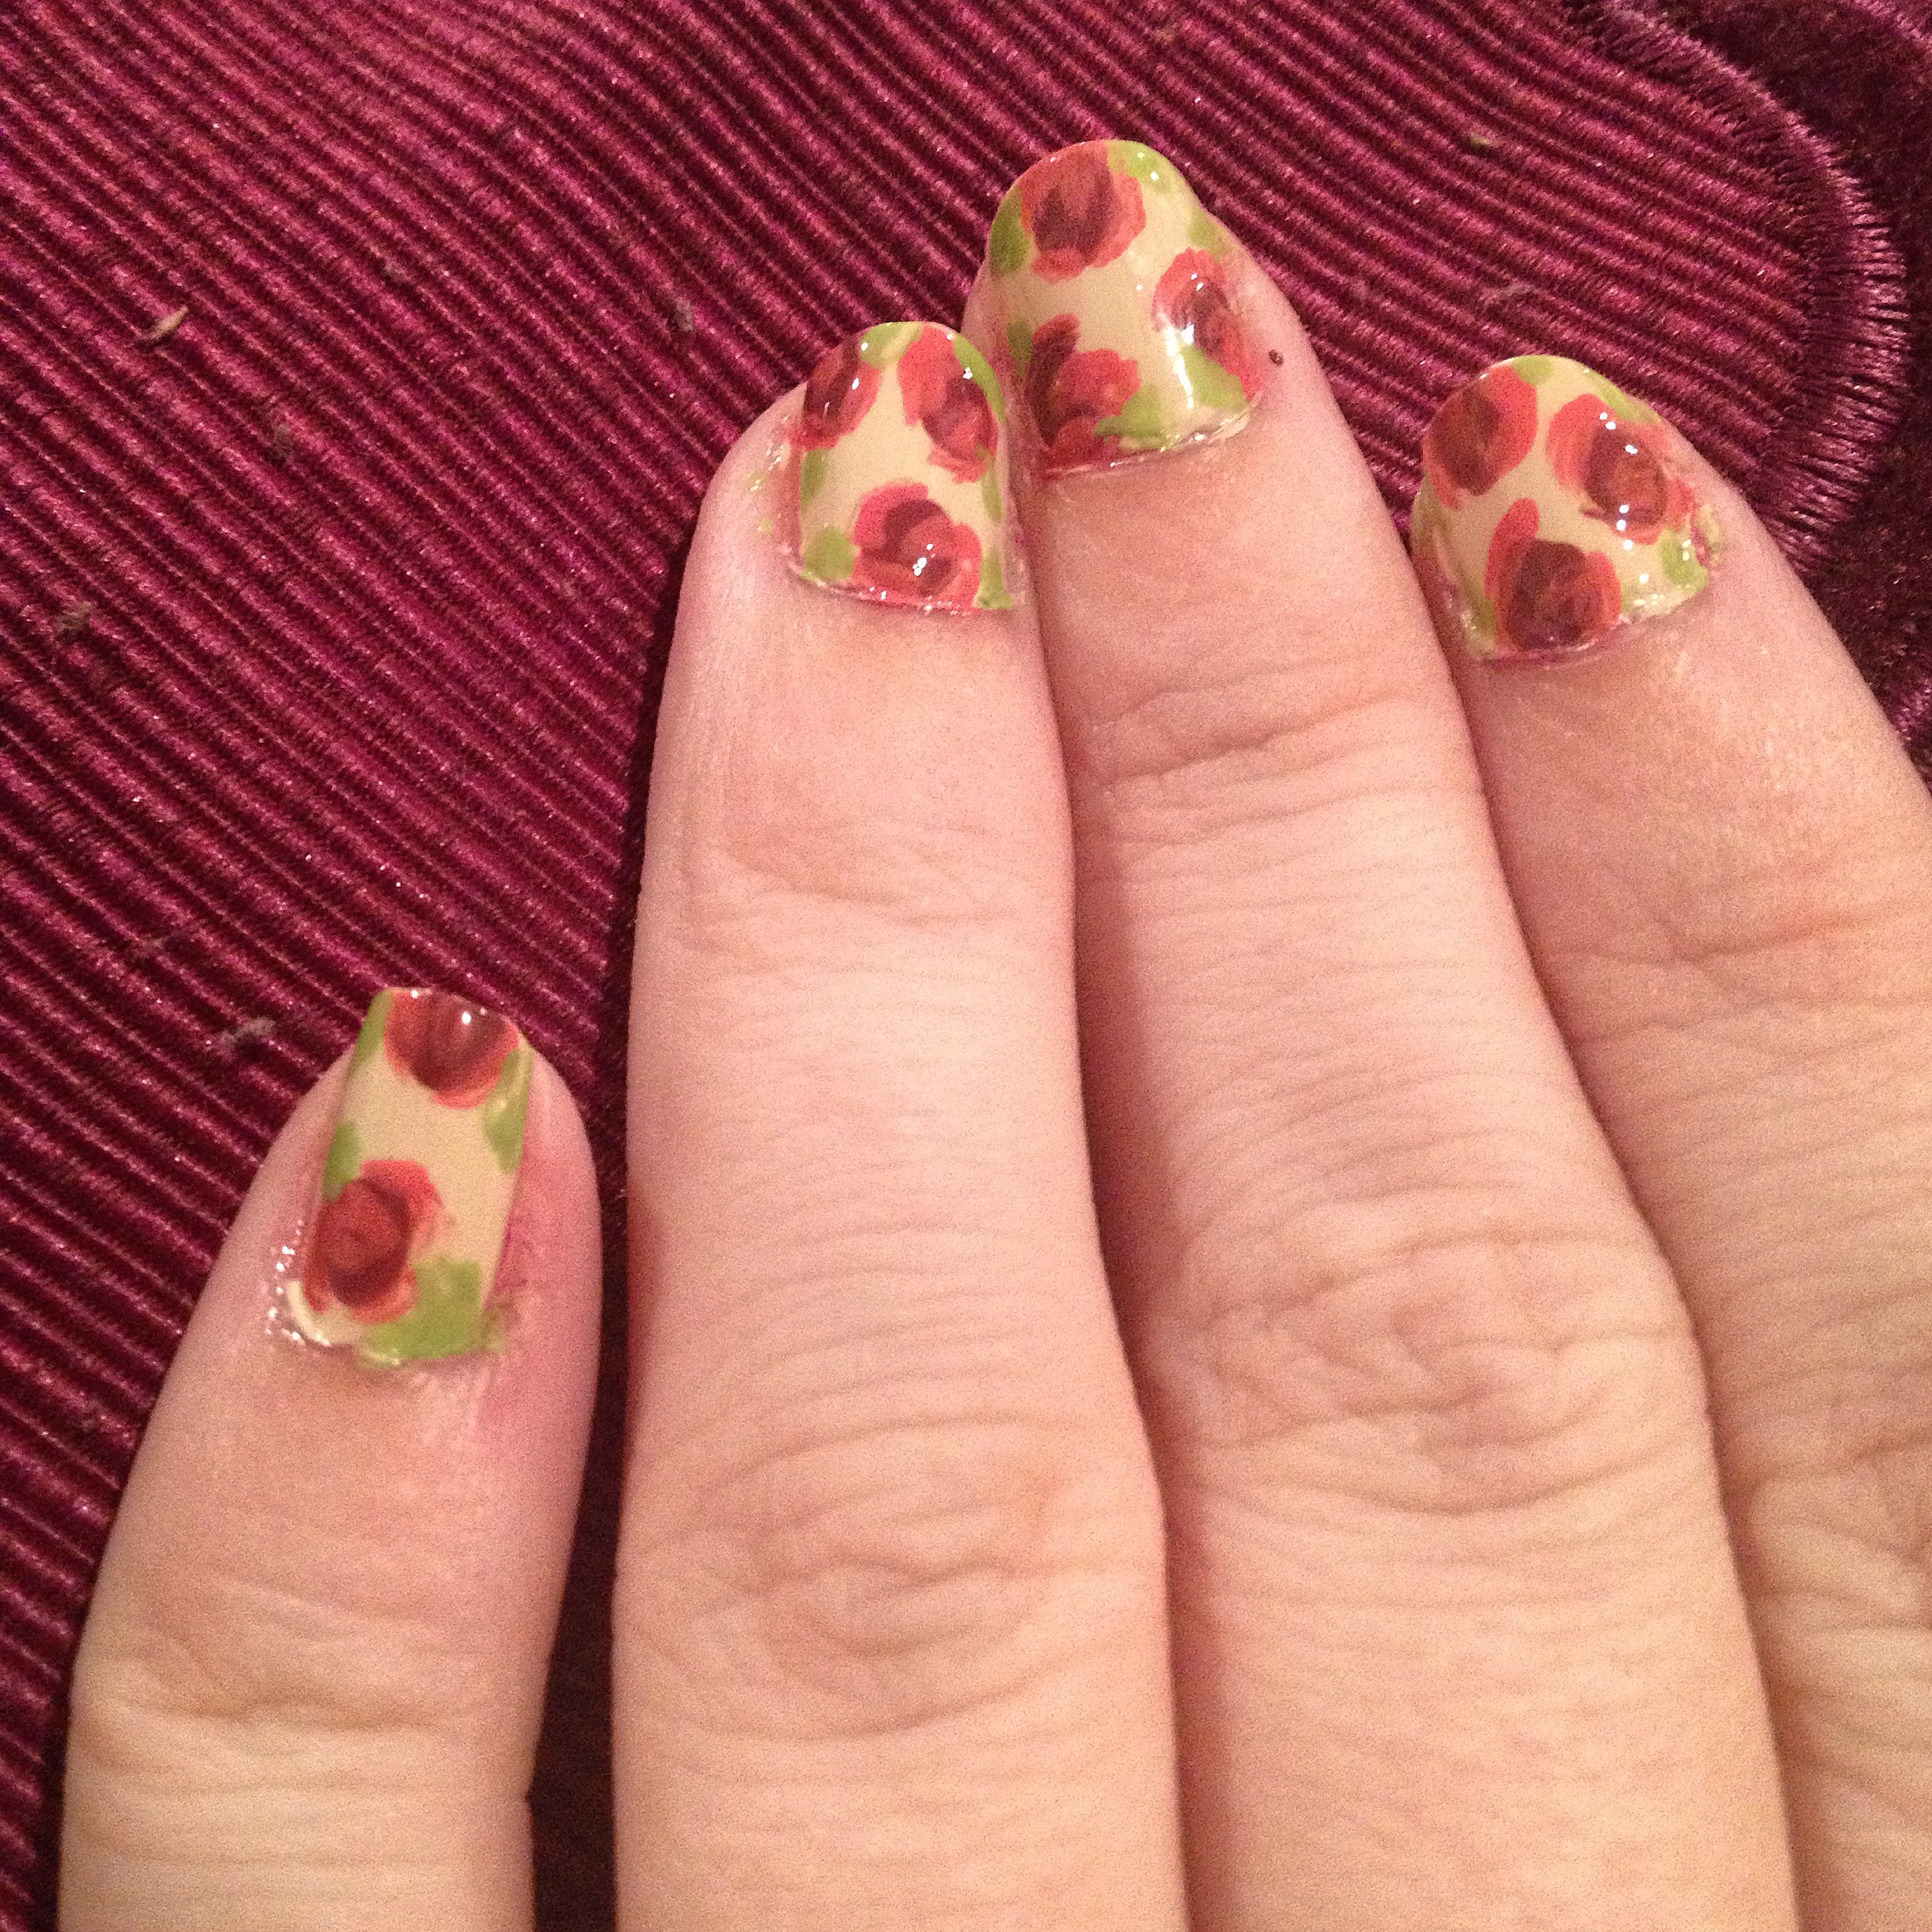
My fall rose nail!
Actually this look was not hard or overly complicated. It just has all the benefits of looking hard and overly complicated.
I was inspired by YouTuber cutepolish to give roses a shot, but I chose colors that were more inspired by the warm tones of autumn.
First, I put two coats of the cream colored polish over each nail and let it dry.
Then I cracked open my Sally Hansen I Heart Nail Art Tool Kit ($5.99) for the first time since purchasing it months ago. I could not be happier with this little kit!
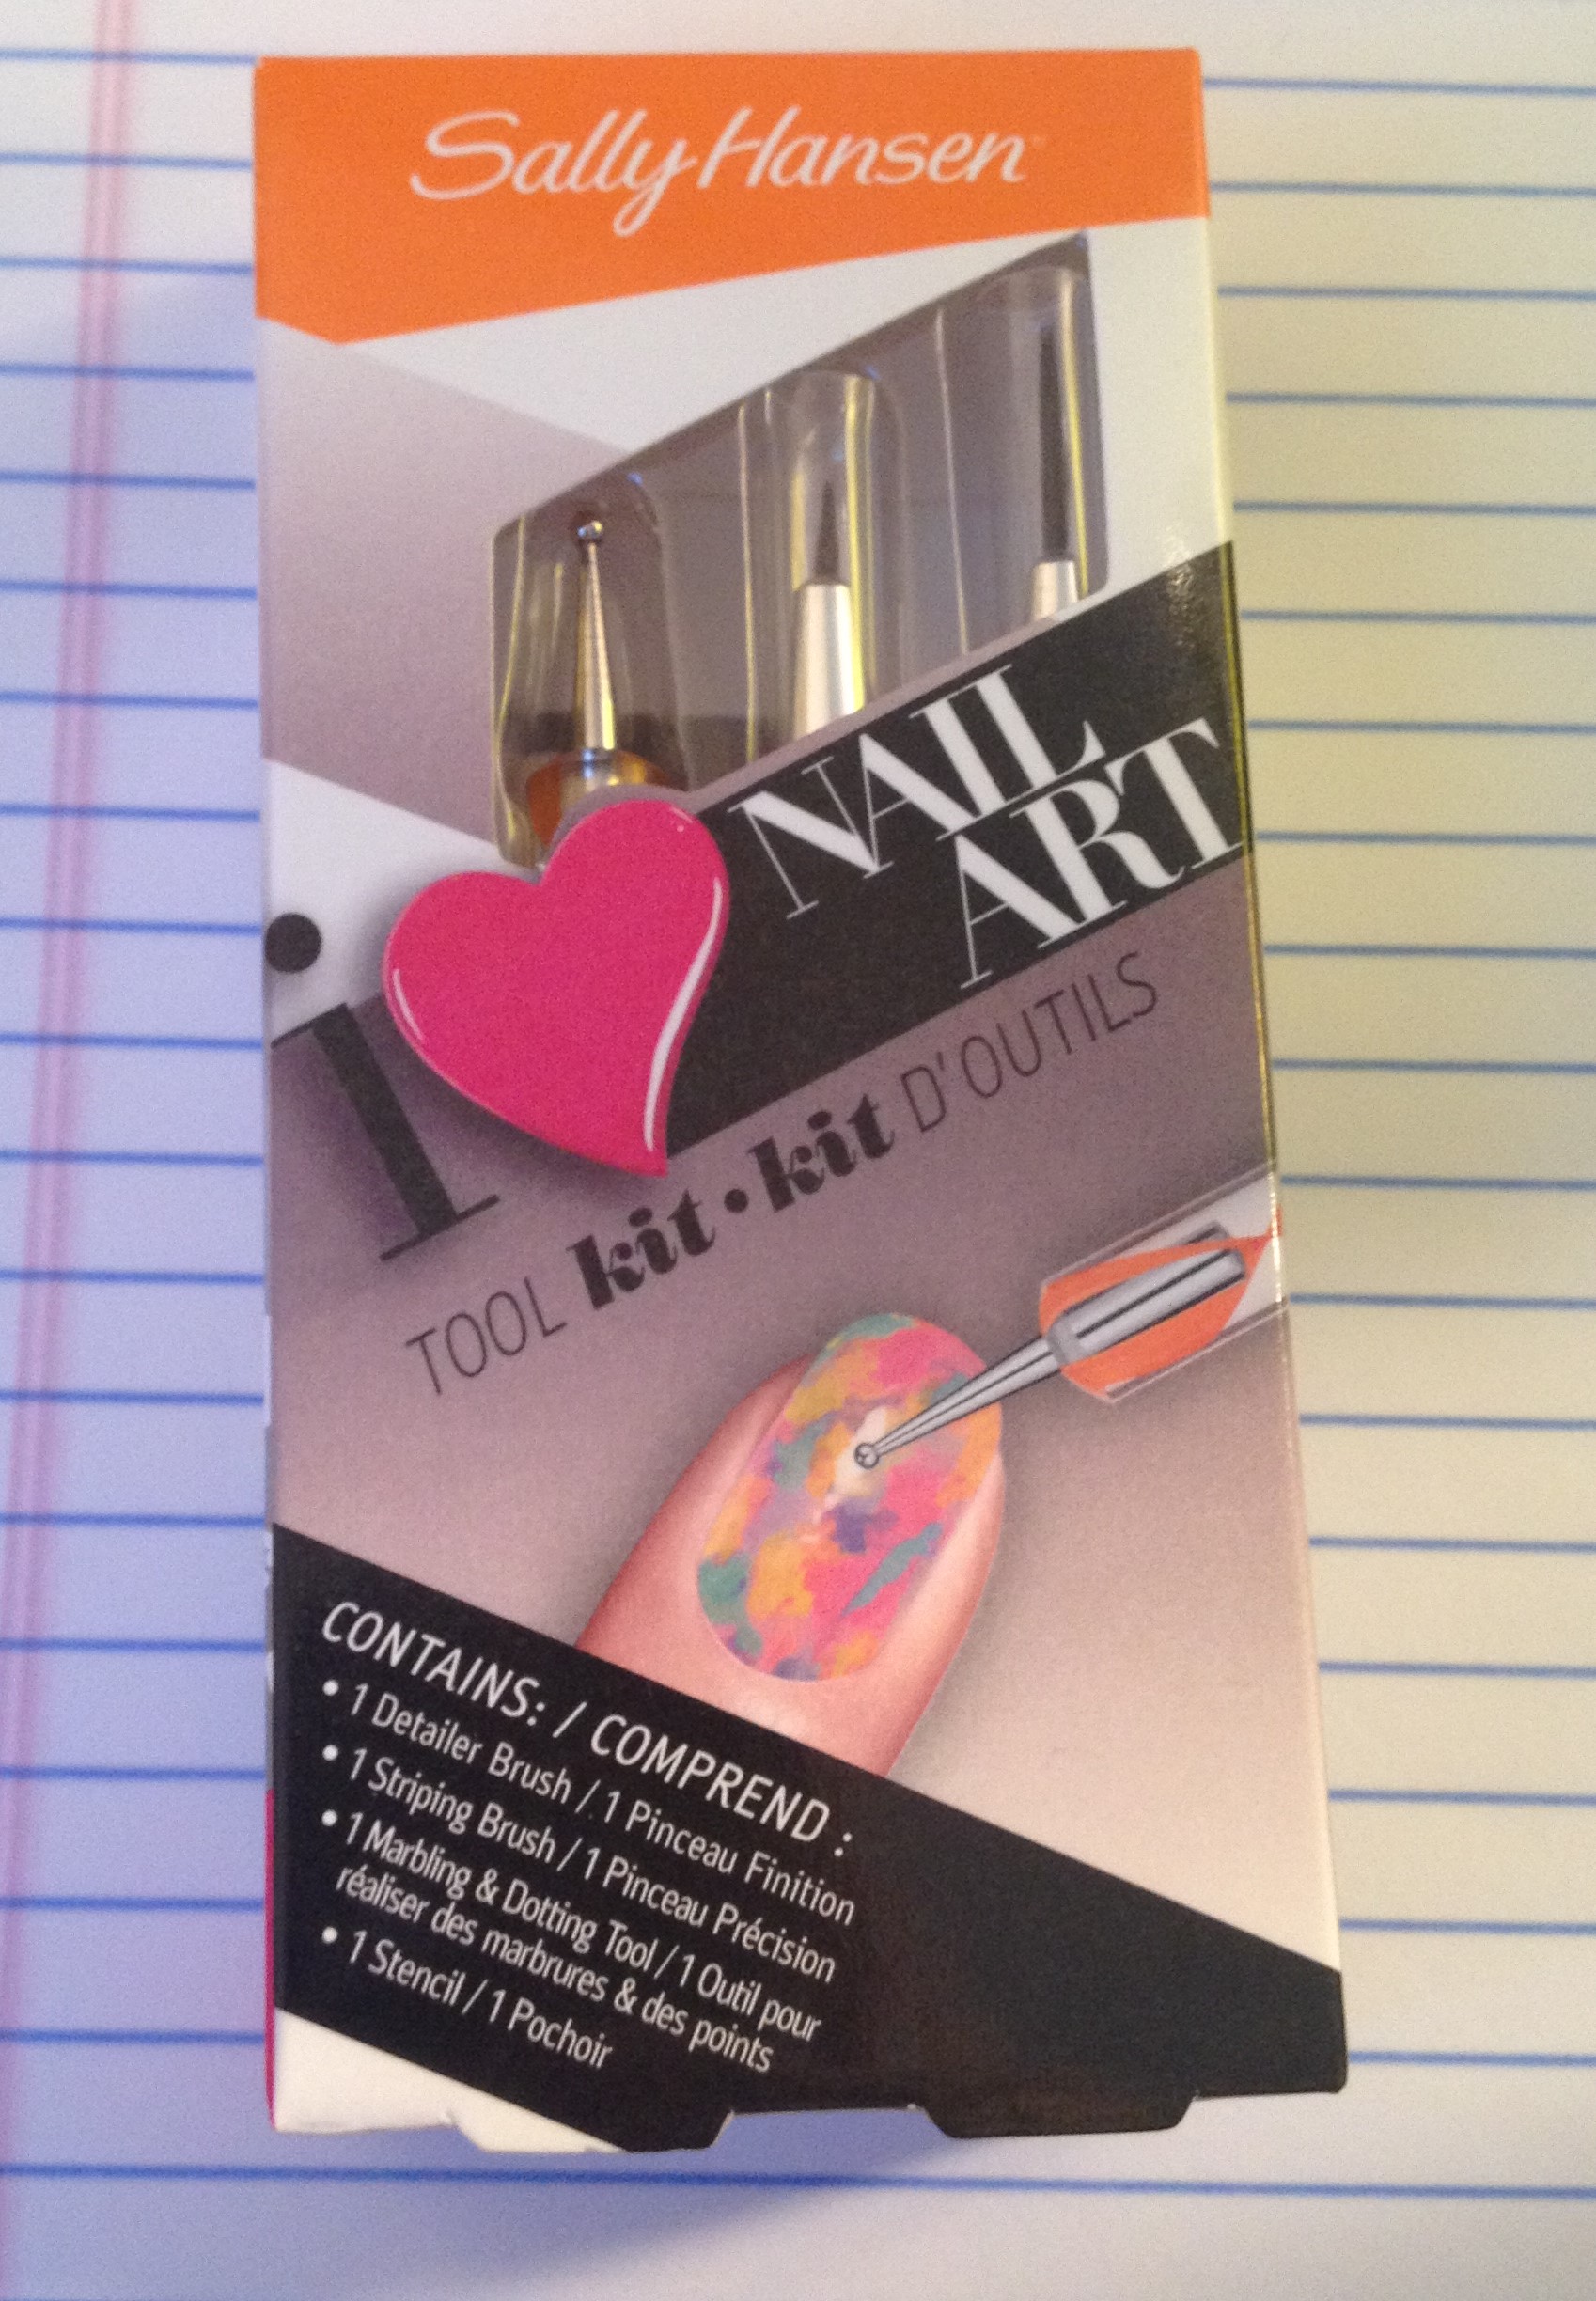

The kit also comes with stencils, which I have yet to try but should be fun to play with.
I took the larger end of the dotting tool and made the base of my roses with the mauve shade. For most of my nails, three dots fit beautifully. But a few nails had two or four, so whatever you think looks good!
Then, using the detail brush, I added the pink over the mauve. Typically three brush strokes would do: two along the edges and a soft spiral for the center.
To finish the rose design I took the smaller end of the dotting tool and added two pale green leaves to every rose by lightly spreading the color around.
After one use I am such a fan of the Sally Hansen set! I cleaned the dotting tool and the detail brush with nail polish remover and a paper towel. That being said, you could definitely accomplish this look with a bobby pin and a toothpick or a pencil if you don’t want to spend money on this little set.
These roses were super simple but looked very chic. I couldn’t stop staring at my nails: so proud!
Polishes Used:
Base and Top Coat–Sally Hansen’s Double Duty
Background–OPI’s You’re So Vain-illa
Rose Base— elf’s Moo Mauve
Rose Detail–elf’s Bubble Gum Pink
Leaves–Julep’s Francis
Thanks for popping in!
